
Version main
Back Up an Exoscale Managed MySQL Database
Overview
This guide backs up an Exoscale Managed MySQL database using mysqldump streamed through Plakar to Exoscale Object Storage (SOS). The result is an encrypted, deduplicated snapshot stored separately from your database infrastructure.
Architecture
flowchart TB
subgraph Client["Backup Client"]
MySQLDump["mysqldump"]
Plakar["Plakar
stdin integration"] end subgraph DB["Exoscale Managed MySQL"] MySQL["MySQL"] end subgraph Storage["Exoscale Object Storage"] SOS["Kloset Store
(Encrypted & Deduplicated)"] end MySQL -->|SQL dump| MySQLDump MySQLDump -->|stdin| Plakar Plakar -->|Snapshots| SOS classDef client fill:#524cff,color:#ffffff classDef db fill:#ffe4e6 classDef storage fill:#dbeafe class MySQLDump,Plakar client class MySQL db class SOS storage
Prerequisites
- Exoscale account with billing configured
Create MySQL Database
Provision database
- Log in to Exoscale Portal
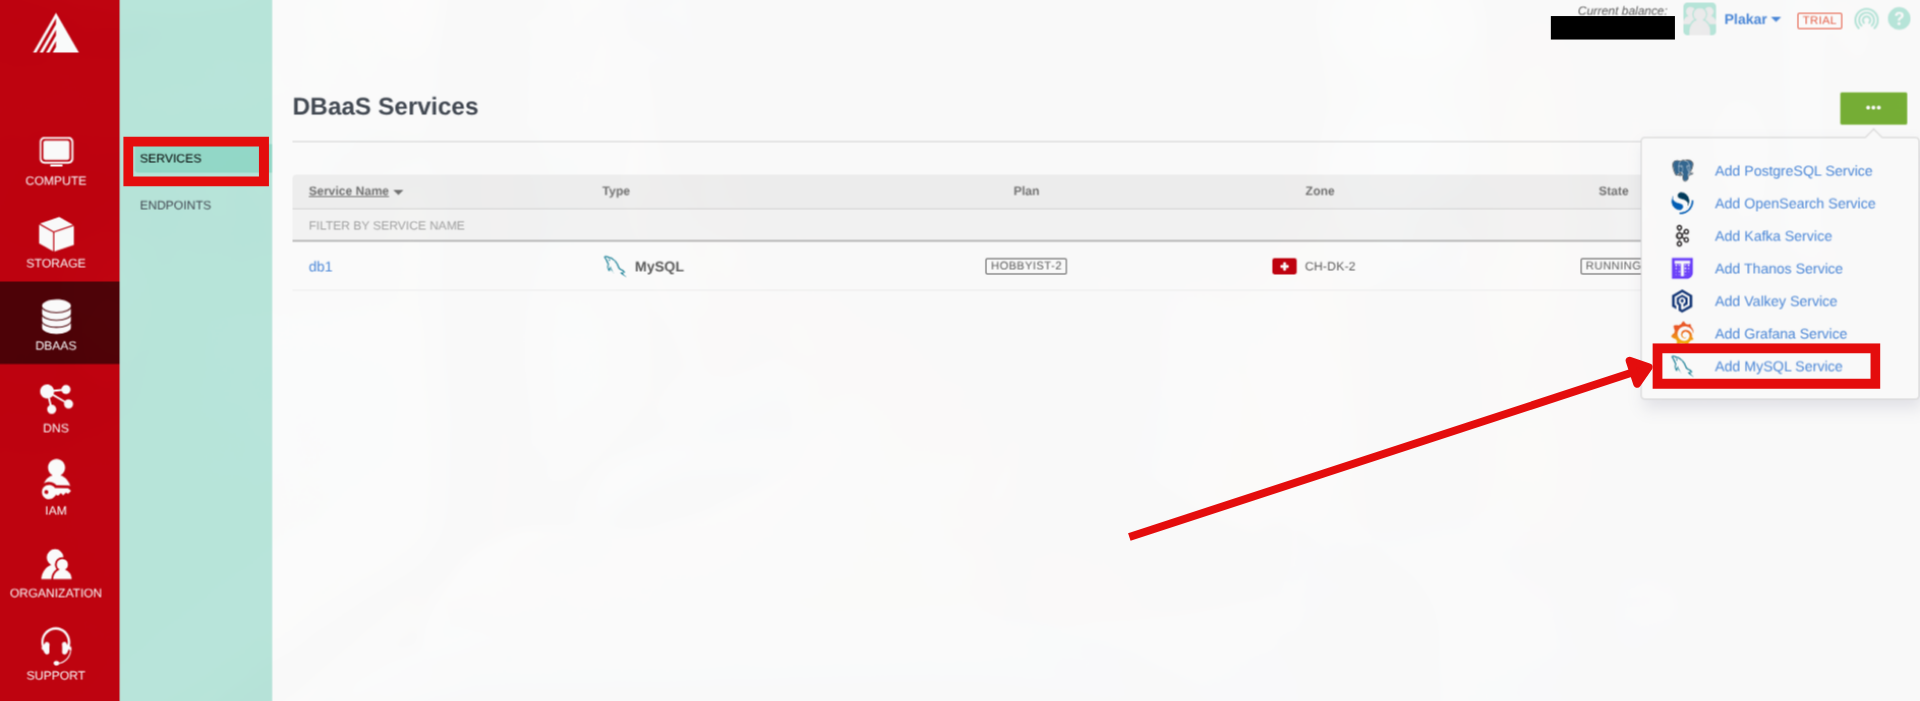
- Go to DBAAS → Services
- Click on the button with an ellipsis icon then select Add MySQL Service from the dropdown
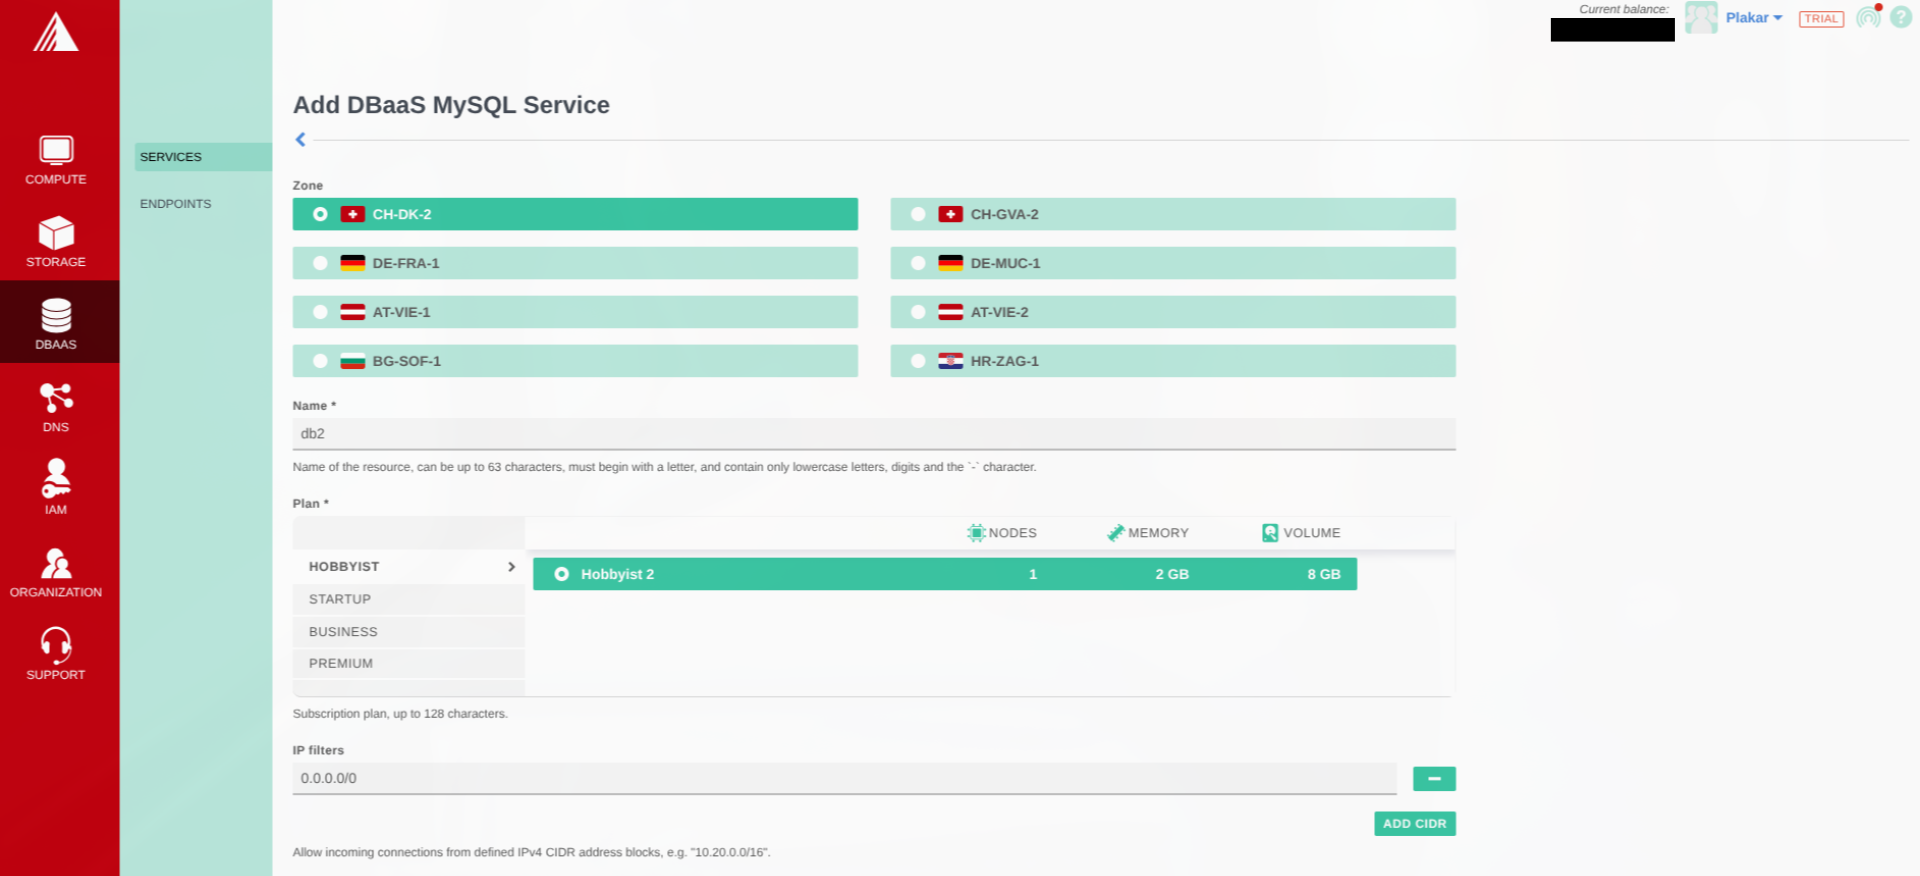
- Configure:
- Zone: Select location
- Database name
- Plan: Select instance size
- IP Filters, click on Add CIDR and enter your IP address to access the database or use
0.0.0.0/0to access it from any IP
- Click Add
Download connection details
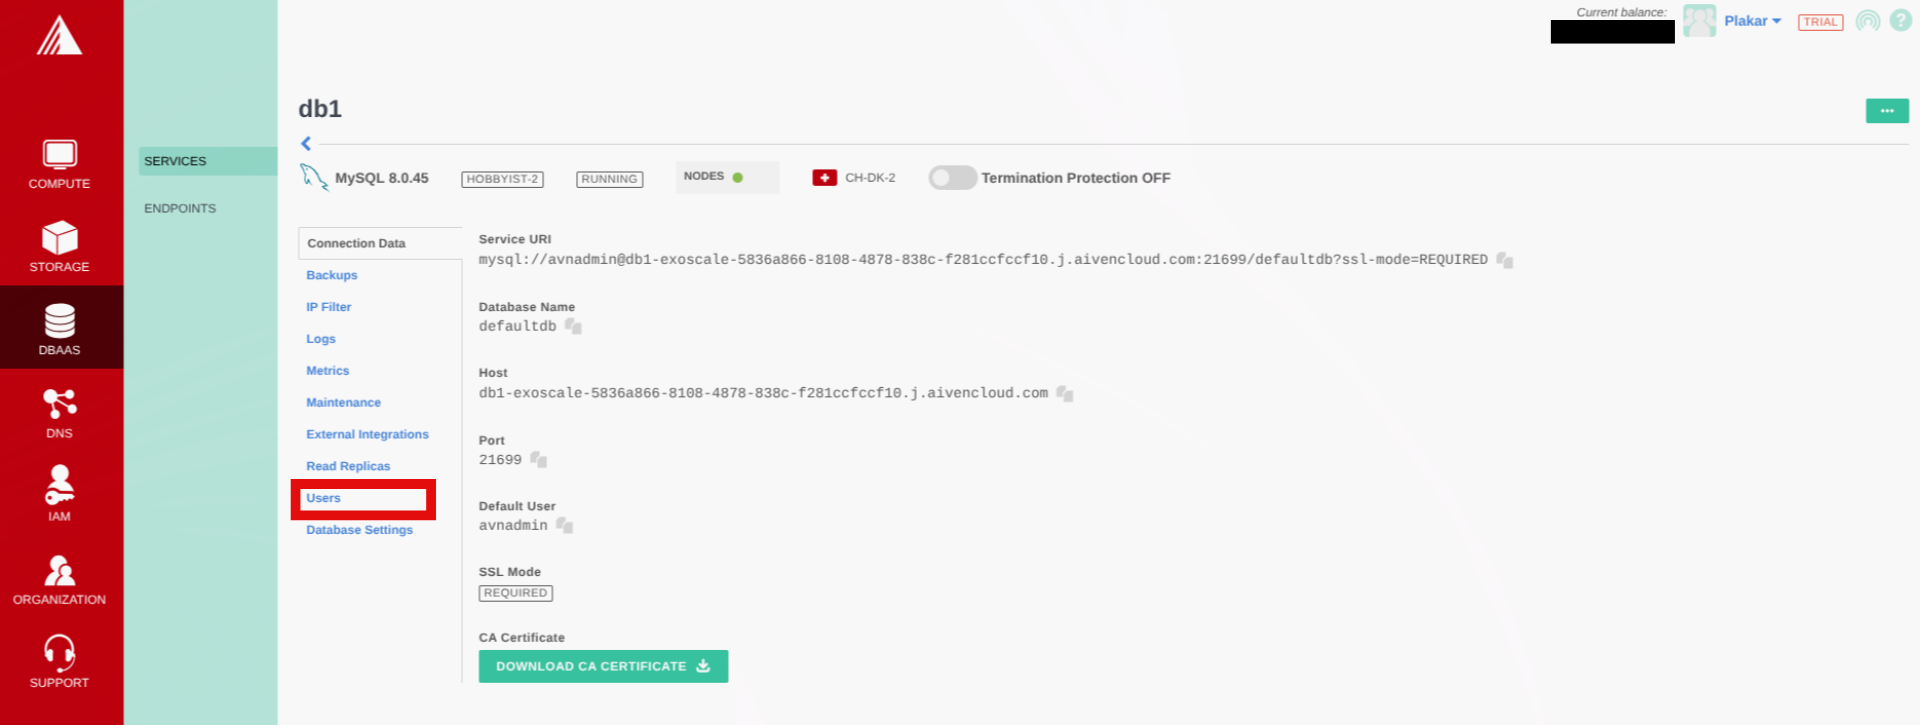
- In the database connection data tab, download your CA Certificates and get the other connection details.
- In the users tab, save your database user password
Install Tools
Install MySQL client:
sudo apt update
sudo apt install mysql-client
Install Plakar per the installation guide.
Configure MySQL Connection
Set environment variables from connection details:
export MYSQL_HOST=<DB_HOST>
export MYSQL_TCP_PORT=21699
export MYSQL_USER=<DB_USER>
export MYSQL_PWD=<DB_PASSWORD>
Configure SSL/TLS with CA certificate:
# Place CA certificate in a secure location
sudo mkdir -p /etc/mysql/certs
sudo cp ca.pem /etc/mysql/certs/
sudo chmod 644 /etc/mysql/certs/ca.pem
Create MySQL configuration file:
cat > ~/.my.cnf << 'EOF'
[client]
ssl-ca=/etc/mysql/certs/ca.pem
ssl-mode=REQUIRED
EOF
chmod 600 ~/.my.cnf
Test connection:
mysql -e "SELECT VERSION();"
Configure Object Storage
Install S3 integration
plakar login -email you@example.com
plakar pkg add s3
Create Object Storage bucket
If not already configured, follow: Exoscale Object Storage setup
Add storage connector
plakar store add exoscale-sos-mysql \
  location=s3://<SOS_ENDPOINT>/<BUCKET_NAME> \
  access_key=<ACCESS_KEY> \
  secret_access_key=<SECRET_KEY> \
  use_tls=true
Replace:
<SOS_ENDPOINT>: e.g.,sos-ch-dk-2.exo.io<BUCKET_NAME>: e.g.,plakar-backups<ACCESS_KEY>and<SECRET_KEY>: From Exoscale IAM
Initialize store
plakar at "@exoscale-sos-mysql" create
Back Up Database
mysqldump --single-transaction \
  --routines \
  --triggers \
  --events \
  <DB_NAME> | plakar at "@exoscale-sos-mysql" backup stdin:dump.sql
Verify:
plakar at "@exoscale-sos-mysql" ls
Restore Database
Retrieve snapshot ID:
plakar at "@exoscale-sos-mysql" ls
Restore single database
plakar at "@exoscale-sos-mysql" cat <SNAPSHOT_ID>:dump.sql | mysql <DB_NAME>
Troubleshooting
Connection refused
- Verify
MYSQL_HOST,MYSQL_TCP_PORT,MYSQL_USER,MYSQL_PWDenvironment variables - Check database is running in Exoscale Portal
- Verify network access/firewall rules
Authentication failed
- Confirm user credentials
S3 upload errors
- Check S3 credentials:
plakar store show exoscale-sos-mysql - Verify endpoint URL and bucket name
- Confirm bucket exists in Exoscale Portal
mysqldump not found
- Install MySQL client:
sudo apt install mysql-client
Found a bug or mistake in the documentation? Create an issue on GitHub